
Install ArkhiNet
This page takes you from download to a working ArkhiNet window: what you need, what the installer asks, what you see on first launch, and how ArkhiNet keeps itself up to date.
System requirements
Section titled “System requirements”- Windows 10 or Windows 11, 64-bit (x64).
- No other software is required. ArkhiNet ships with its own copy of PuTTY’s tools for SSH, Telnet, serial and file transfer.
- Mac and Linux are not available.
Download the installer
Section titled “Download the installer”- Go to arkhinet.com/download. It always serves the latest release.
- Save the file. It is named
ArkhiNet-Setup-<version>.exe.
There is no sign-up, email gate or license key. ArkhiNet is free for individual use with every feature and unlimited devices. Organizations where two or more engineers use it need a Team license; see Pricing.
Check the signature
Section titled “Check the signature”Every ArkhiNet build is code-signed. The publisher name is Arkhinet (lowercase “n”, the legal entity name).
- Right-click the downloaded
.exeand choose Properties. - Open the Digital Signatures tab.
- Confirm the signer is Arkhinet.
Run the installer
Section titled “Run the installer”- Double-click
ArkhiNet-Setup-<version>.exe. - Choose who to install for. The default is just you (a per-user install under
%LOCALAPPDATA%\Programs\ArkhiNet), which needs no administrator rights. You can choose to install for everyone on the computer instead. - Optionally change the installation folder.
- Finish the installer. It creates a desktop shortcut and a Start Menu shortcut.
First launch
Section titled “First launch”On a fresh install, ArkhiNet opens on a short two-step welcome screen.
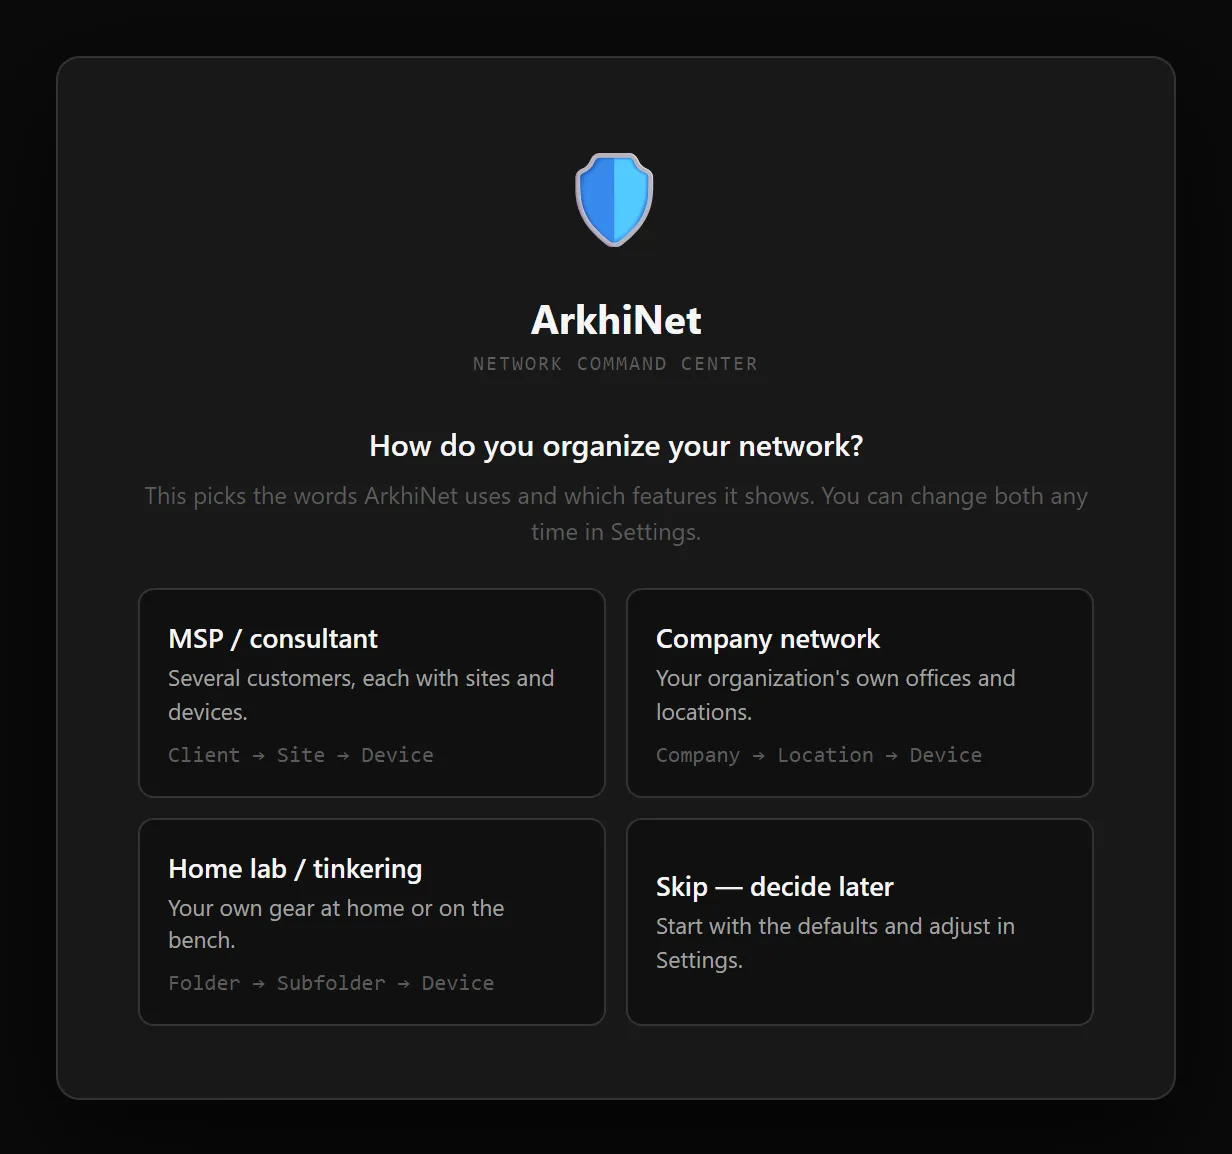
How do you organize your network?
Section titled “How do you organize your network?”Pick the option closest to how you work. It sets the words ArkhiNet uses for your two top levels and which features it shows:
| Option | Levels | Hidden features |
|---|---|---|
| MSP / consultant | Client → Site → Device | None |
| Company network | Company → Location → Device | Projects |
| Home lab / tinkering | Folder → Subfolder → Device | Projects, Inventory report |
| Skip | Client → Site → Device | None |
Nothing is locked in. You can rename the levels later in Settings → General → What you call things, and show or hide features in Settings → Features. These choices are saved on this computer only, so a coworker sharing your data file keeps their own.
Choose where your data lives
Section titled “Choose where your data lives”The second step asks Where would you like to store your data?
- Create New File starts an empty inventory. Windows asks where to save it; the suggested name is
arkhinet_data.json. - Open Existing File loads an inventory you already have, either a plain
.jsonfile or an encrypted.arkhinetfile. Use this to open a coworker’s shared file.
The data file can live on a network share or a synced folder so several engineers can work from the same inventory. ArkhiNet detects changes made by someone else and merges them. See Share a data file with your team. The link at the bottom of this step takes you back to change your setup choice.
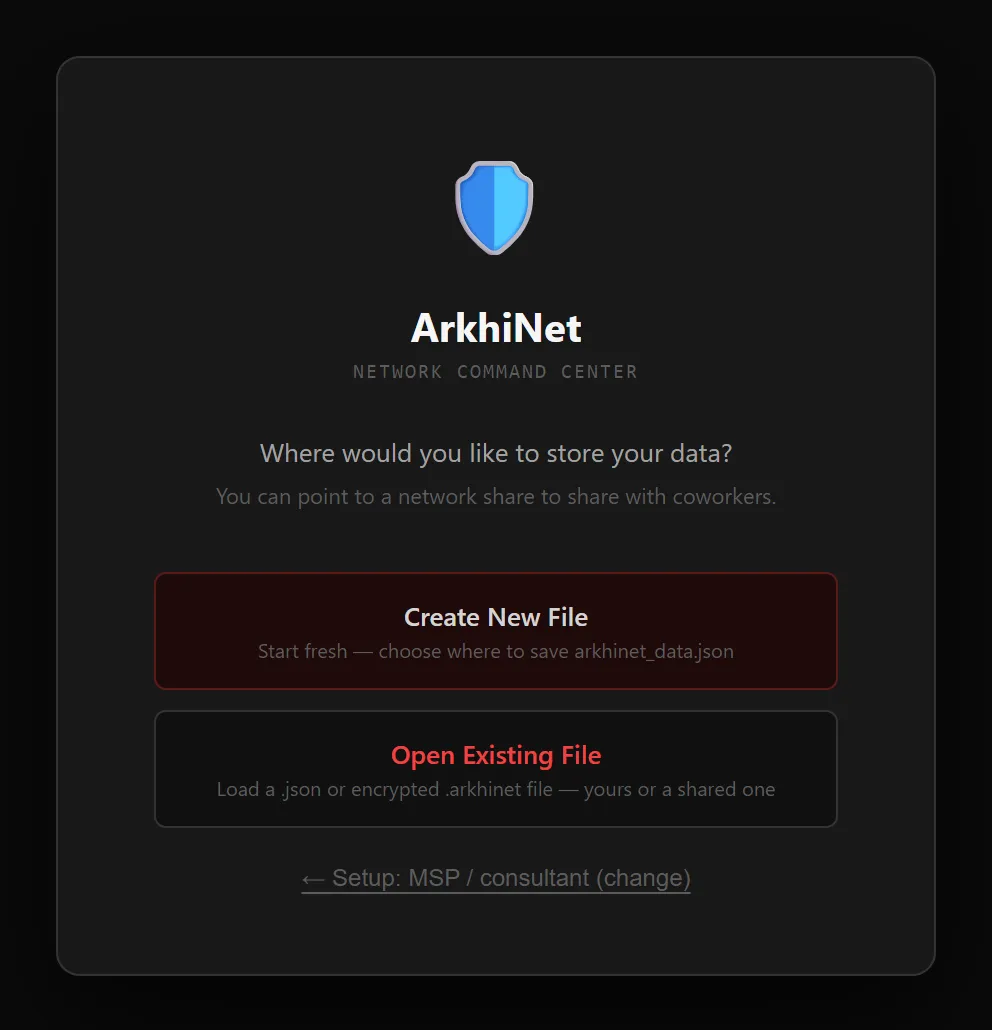
Once the file is created or opened, you land in the main window. Continue with Your first client, site and device, or bring in existing sessions with Import from PuTTY, SecureCRT or a spreadsheet.
Automatic updates
Section titled “Automatic updates”ArkhiNet updates itself from its official release channel:
- It checks for a new version shortly after launch, then every 6 hours while it runs.
- A new version downloads quietly in the background.
- It installs when you quit ArkhiNet. To install right away, open Settings → Updates & About and click Restart & Install.
- Before installing, ArkhiNet verifies that the update is signed by Arkhinet. An update without that signature is rejected.
To check by hand, use ☰ → Help → Check for Updates…. Help → What’s New in v… opens the release notes for your version.
Start with Windows (optional)
Section titled “Start with Windows (optional)”Off by default. Turn it on in Settings → General → Startup → Start with Windows.
When it’s on, ArkhiNet starts quietly when you sign in and waits in the notification area by the clock, so it opens instantly instead of taking a few seconds after a restart. Click the tray icon, or right-click it and choose Open ArkhiNet. Opening ArkhiNet from its shortcut does the same. While waiting in the background it uses about 250 MB of memory. You can also turn it off in Task Manager → Startup apps.
Uninstall
Section titled “Uninstall”- Open Windows Settings → Apps → Installed apps (on Windows 10, Apps & features).
- Find ArkhiNet and choose Uninstall.